How to Install And Configure Chef Server on Ubuntu 14.04


The central Chef server is one of the core component of chef infrastructure automation. Central Chef server acts as a single point of contact for agents to pull configurations that are applicable for them. Chef server stores cookbooks, metadata of the nodes, environment and policy details etc. Every agent in the environment will be configured to contact a central chef server.
In this article, we will go through the steps for installing and configuring this central Chef server on Ubuntu 14.04 distribution of Linux. If you are completely new to Chef, then I would recommend reading the below article to get started.
Read: Getting Started with Chef Configuration Management
Before getting started, let's understand the different components of Chef server. Chef server will automatically install the below items on the server.
- Nginx: Nginx is an open source webserver that will be used by chef as a front end web interface. Each and every HTTP request that comes to chef server, will actually be going via Nginx web server. Once the request hits Nginx web server, Nginx will then re-route those requests according to the type of request. For example...If the request is to access bookshelf, it will be forwarded to localhost port number 4321(where bookshelf service will be listening.). If it's search related request, then Nginx will forward it to Solr listening on localhost port number 8983(all of these different services are installed by chef server package automatically, without any user intervention.)
Bookshelf is a component of chef server where all cookbook related contents are stored. If you have ever worked with Puppet configuration management tool, then you can compare cookbook with modules of puppet.
- Chef Web Interface: This is a Ruby application that listens on localhost port number 9462. Using this interface, administrators can configure and manage different aspects of chef server. Like which cookbooks to be applied on which node etc. This component is also something that gets installed by chef automatically without any manual intervention(we will be doing the installation part shortly). The requests to access the chef user interface will also first reach Nginx web server, which will then redirect it to port number 9462 where the ui application is running.
Please keep the fact in mind that chef web interface is only free for the first 25 nodes. You will have to pay for using this web interface for more number of nodes. However..You can have chef working without the web interface. The operations and features exposed by this web interface is actually doable using command line as well.
- Chef API: This is the core API of Chef. The opscode engineering team reworked the API using Erland programming language. Hence this is called as "Erchef". This API service runs on port number 8000. Here also Nginx redirects requests to localhost port number 8000.
- Solr: This component provides indexing and searching feature for Chef. All node details and attributes are stored in the open source search engine called Apache Solr. Solr service exposes itself in the form of a search api to chef using port number 8983. Nginx forwards requests for searches to this localhost port number 8983.
- PostgreSQL Database Server: This is a popular open source relational database server. Chef uses this as the primary database for storing things. PostgreSQL server listens on port number 5432.
- RabbitMQ: This is used as a message queuing component of chef. Things are grabbed from RabbitMQ for indexing to solr search engine.
As mentioned earlier...None of the above mentioned components need to be configured manually. All these components are configured by chef installation script automatically for you.
Installing Chef Server
Step 1: The very first step is to verify that correct hostname is configured on the server. And the hostname FQDN is actually resolvable. Its very much necessary and recommended to have proper DNS entries in place for your chef server. If you are not in a production environment, you can get it done using hosts file as well. Login to the server, and run the below commands to set correct hostname..
hostname chef.example.com
echo "chef.example.com" > /etc/hostname
In the above example, am using example.com for demonstration purposes only. You will have to replace it with the domain name applicable to your environment. For this example, we will be adding an entry in /etc/hosts file. As mentioned earlier, for production environments, you need to have proper DNS entry for your chef server FQDN.
10.12.2.188 chef.example.com
Add the above entry inside /etc/hosts file. In the above example, i have used 10.12.2.188 because that's the ip address of my server. Replace it with the IP address of your server while making the entry inside /etc/hostfile.
If your entry is correct, you should be able to ping chef.example.com (replace it with your dns name).
Step 2: The second step is to ensure time synchronization. So we need to configure NTP on the server. This can be done by installing ntp package in Ubuntu as shown below..
apt-get update
apt-get install ntp
service ntp start
Step 3: The next step is to download Chef server package from official website and install it. For this, access the below URL for chef server download page.
Download Chef For Ubuntu 64 bit
Right Click on the 64 bit package and select "Copy Link Address" as shown below.

Step 4: Paste the URL we copied in step 3 as a parameter to wget command. Wget will download this package to our Ubuntu 14.04 server. If you are new to wget, I would recommend reading the below article for its complete usage.
Read: How to use Wget command in Linux
wget https://packages.chef.io/stable/ubuntu/14.04/chef-server-core_12.7.0-1_amd64.deb
Step 5: The next step is to install this downloaded package using the below command.
dpkg -i chef-server*
Once the above command succeeds, you will have chef server installed on the system. We still need to configure it as shown in the below pending steps.
Step 6: The next step is to ask chef server to configure itself with the default settings. This can be done by running the below command.
chef-server-ctl reconfigure
This command will take a while to complete. This is because it installs and configures all the previously mentioned components of chef server(ie: Nginx, RabbitMQ, Postgresql, Solr etc.). The successful completion of the above command should show you something like the below towards the end..
Chef Client finished, 39/411 resources updated in 31 seconds
Chef Server Reconfigured!
Step 7: Once the above command is completed successfully, we have chef server components installed and configured on the server. You can actually have an optional web interface for chef as well. This web interface is called as chef manage. It can be installed using the below command.
Please keep the fact in mind that chef manage web interface is only free for up top 25 nodes.
chef-server-ctl install chef-manage
chef-server-ctl reconfigure
chef-manage-ctl reconfigure
Once the above three commands succeeds, you have the web interface called chef manage ready for you to use. You can access the web interface by either using the IP address of your server or the DNS name of the server(if you have DNS configured correctly in your environment.)
Before we can access the web interface, we need to create an admin user and credentials..This can be done by executing the below command.
chef-server-ctl user-create sarath Sarath Pillai sarath@slashroot.in password --filename sarath.pem
"sarath" in the above command is the username.
"Sarath Pillai" is the full name of the user.
"sarath@slashroot.in" is the email address.
"password" is the actual password for the user..Replace it with something complex
"sarath.pem" is the private key file for the user(this will be created in the current directory after the command completes.)
You can now access the web interface by using the IP address of the server in the web browser. The login page looks like the below..
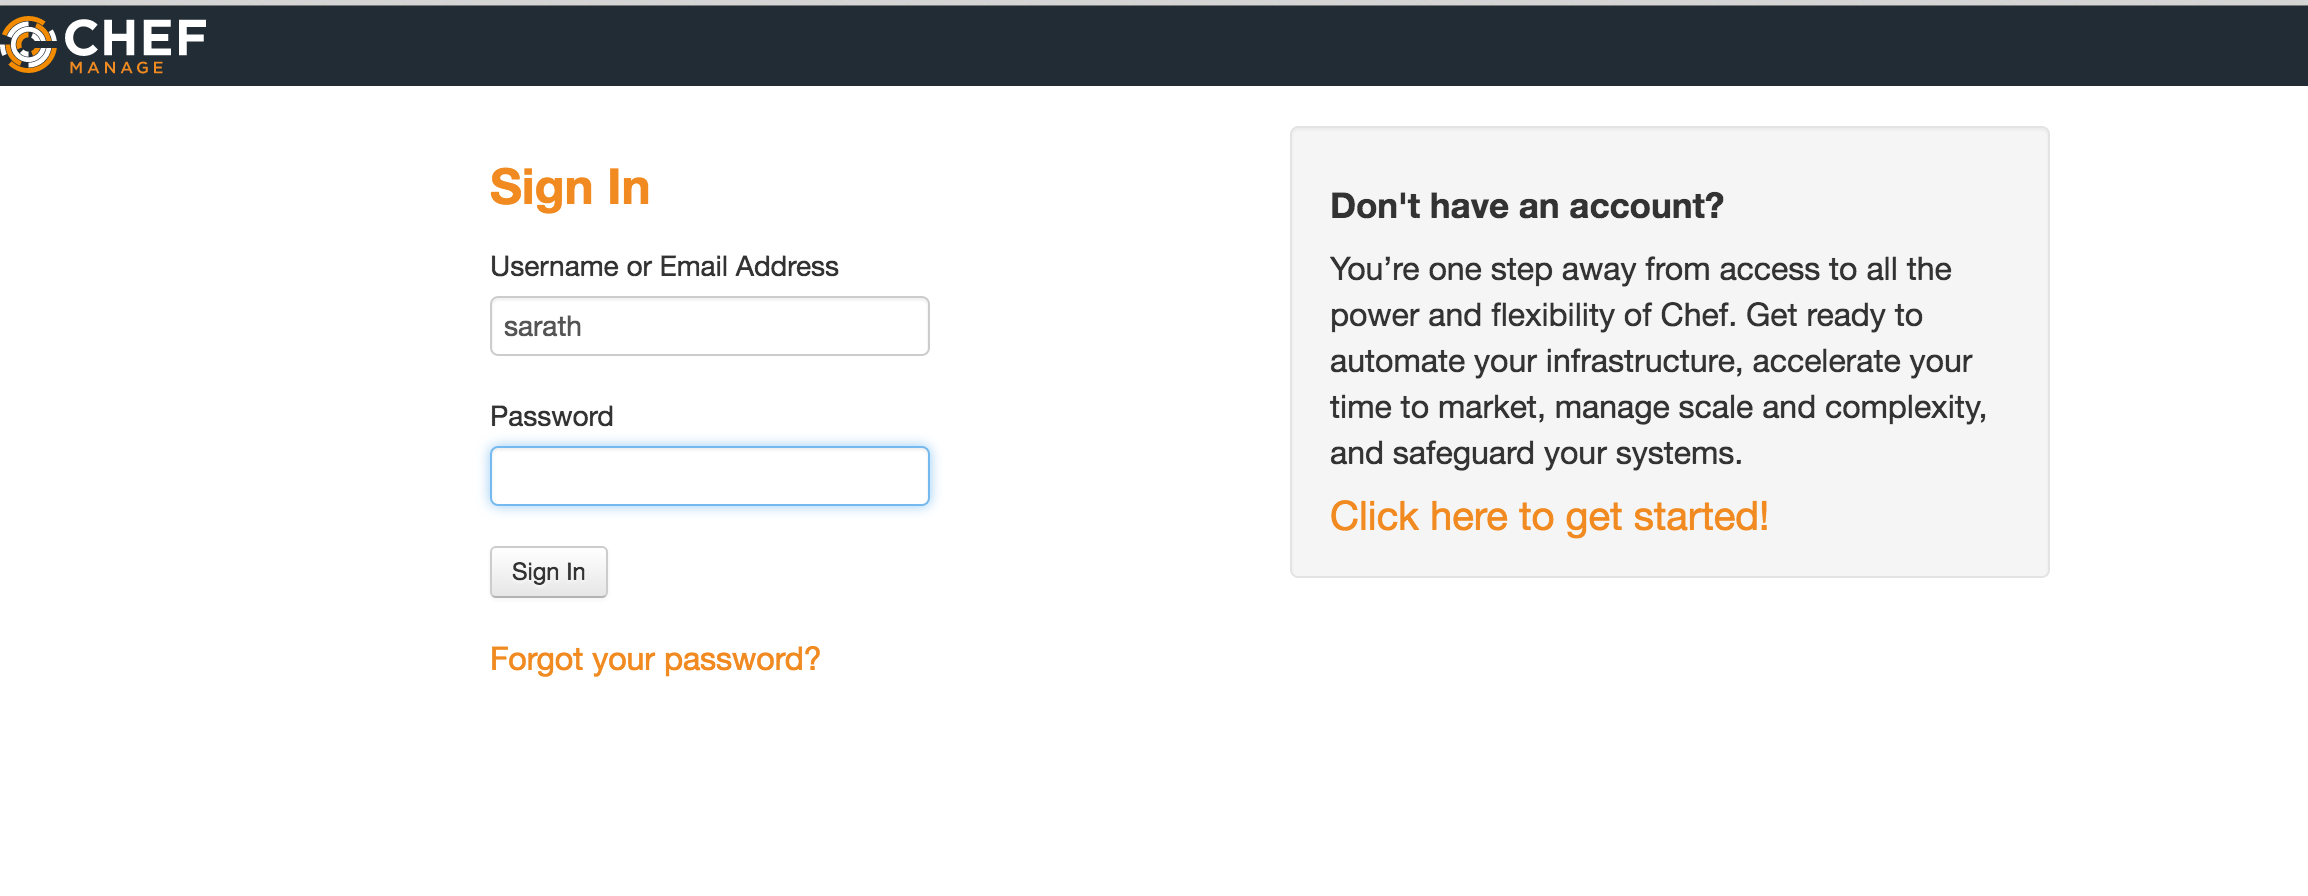
You can enter the username that we created in the previous step here, along with the password we created. Once you enter the credentials, you will be greeted with the below message.
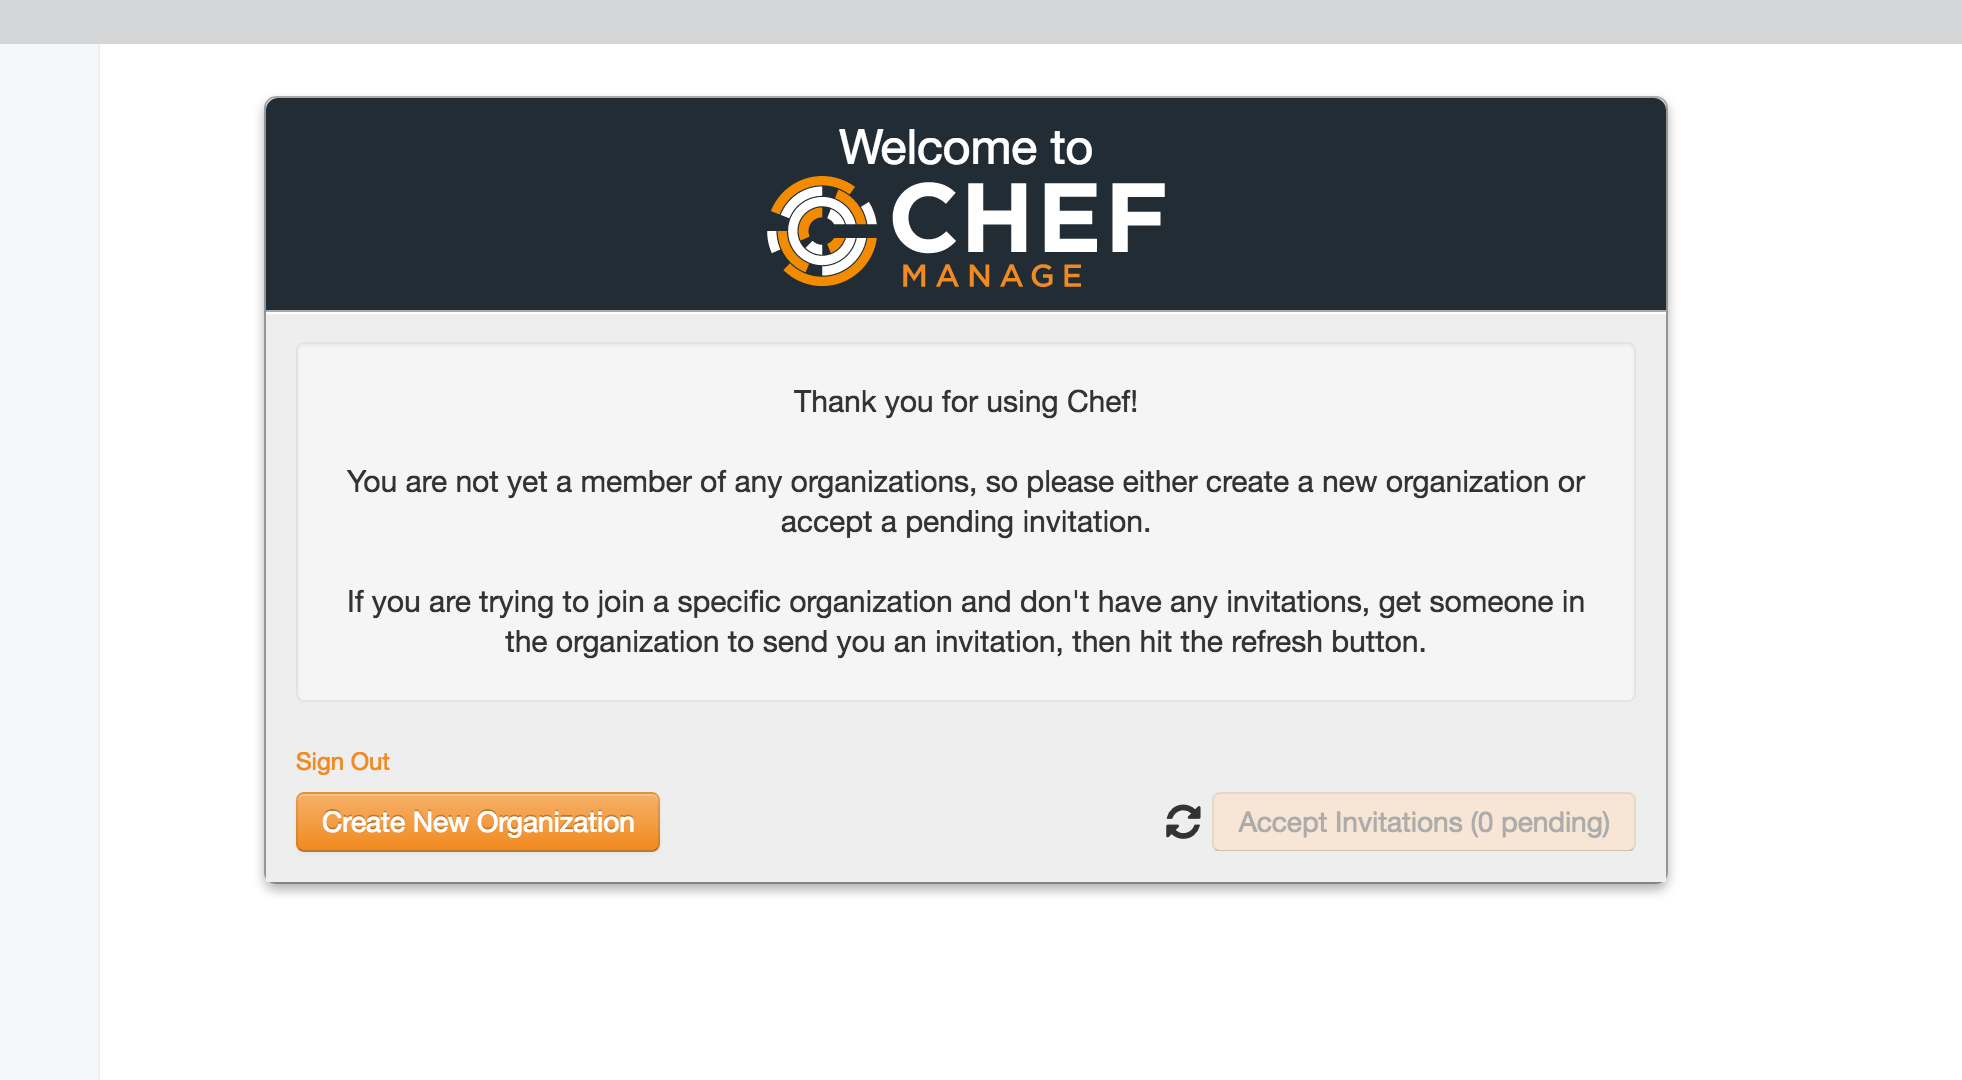
You can now create an organization by using the "Create New Organization" link shown above. Once you click on that link, you should then be able to create the organization as shown below.

Once you have created the organization, you will then be redirected to the chef manage interface, where you can administer nodes, cookbooks and other details related to this particular organization. In the next Article we will be creating a workstation that can connect to this chef server.
You can access the Next Article in this series using the below link.
 Sarath Pillai
 Satish Tiwary
Add new comment