How to Install Vagrant in Mac OS X - Step by Step Procedure


Vagrant is basically a layer on top of your virtualization platform. Using vagrant, you can define all aspects of your development environment, which can then be used for creating virtual machines. Vagrant takes care of creating, managing, and destroying your development environment. The most popular virtualization platform of choice for vagrant is VirtualBox. In this article, we we will be walking throught the steps to install Vagrant on Mac OS X(Am using EI Captain 10.11.4 for this example).
If you are completely new to Vagrant then i recommend reading the below article to get some basics.
Read: What is Vagrant and what is it used for?
Installing Vagrant in MAC OS X is pretty simple. This is because, both the virtualization component and the vagrant itself can be installed by using standard installers officially provided. The virtualization platform best suited for vagrant is VirtualBox. Its freely available for mac operating system. Vagrant can work with any virtualization platform.
Prior to Vagrant 1.1, Vagrant was tightly integrated and was tied to VirtualBox. Today Vagrant can work with almost any type of virtualization layer. It can even work with the public cloud providers like Amazon's AWS.
We will be using the virtualization layer provided by VirtualBox in this tutorial. This is because, VirtualBox is free, and is available for all operating system platforms(ie: Mac, Windows, Linux.). VirtualBox and Vagrant should be installed seperately. If you install Vagrant without having VirtualBox installed, Vagrant will show you an error and will demand to install VirtualBox. Other than VirtualBox, you do not need any other dependency to install Vagrant on Mac OS X.
The very first step is to install VirtualBox on Mac OS X. VirtualBox is a free Virtualization software offered by Oracle. You can download VirtualBox for Mac OS X from the below Link.
Vagrant is compatible with VirtualBox versions 4.0.x, 4.1.x, 4.2.x, 4.3.x, and 5.0.x.
For this article, I have downloaded VirtualBox-5.0.20-106931-OSX.dmg from the above link. Installing VirtualBox on mac is similar to how you install any other dmg file.
Click on the dmg file and it should walk you through the installation.
Step 1: The very first step is to simply double click on the VirtualBox dmg file, which will open the below window in mac.
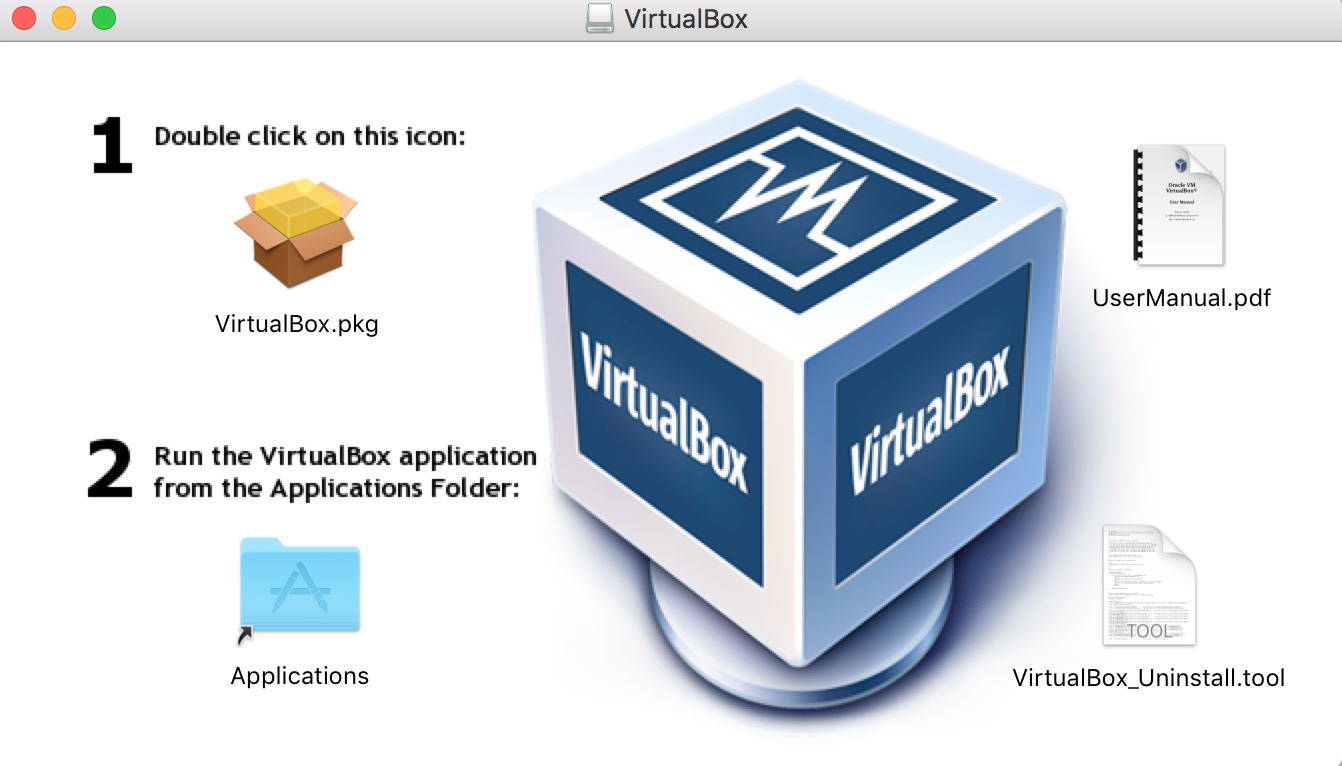
Step 2: Clicking on the above icon will kickstart the installation procedure, and will take you to the below window.
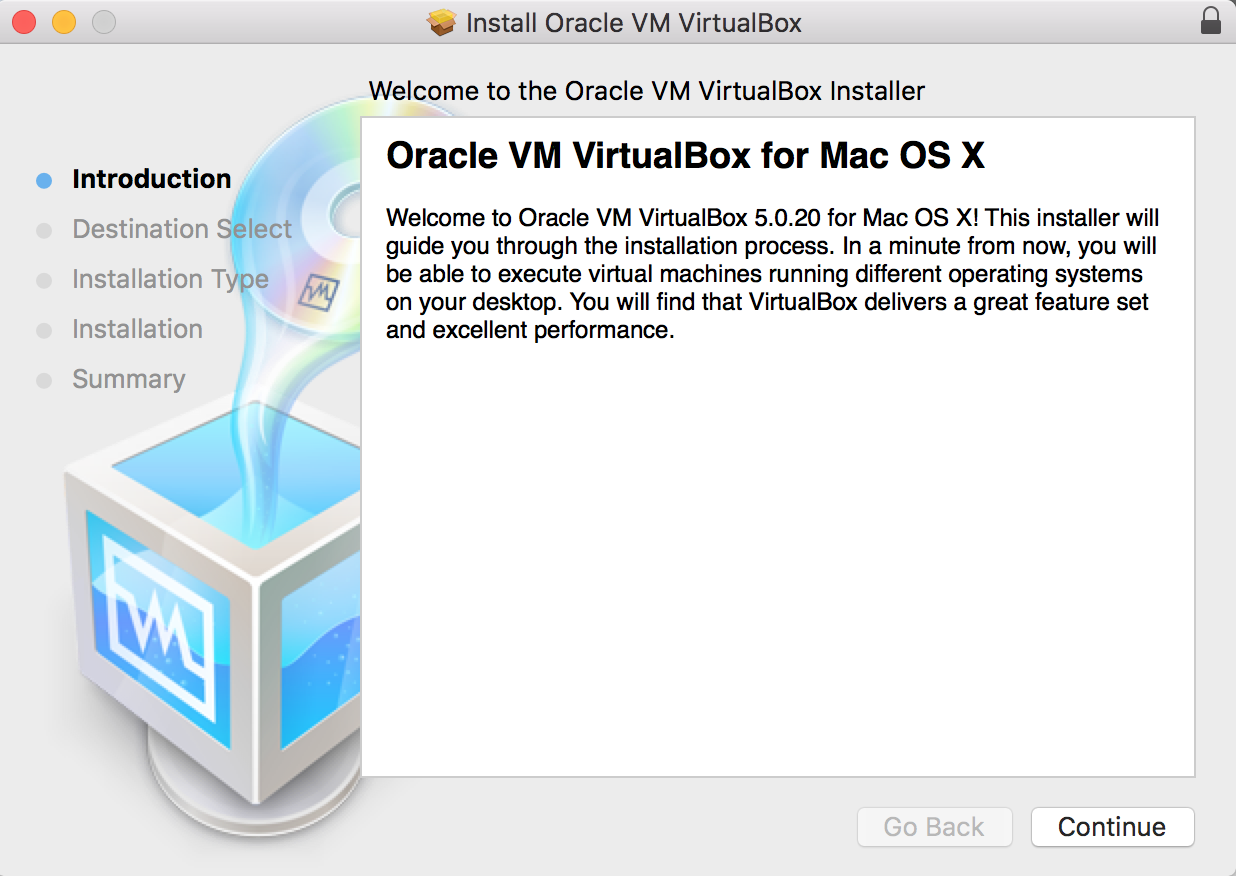
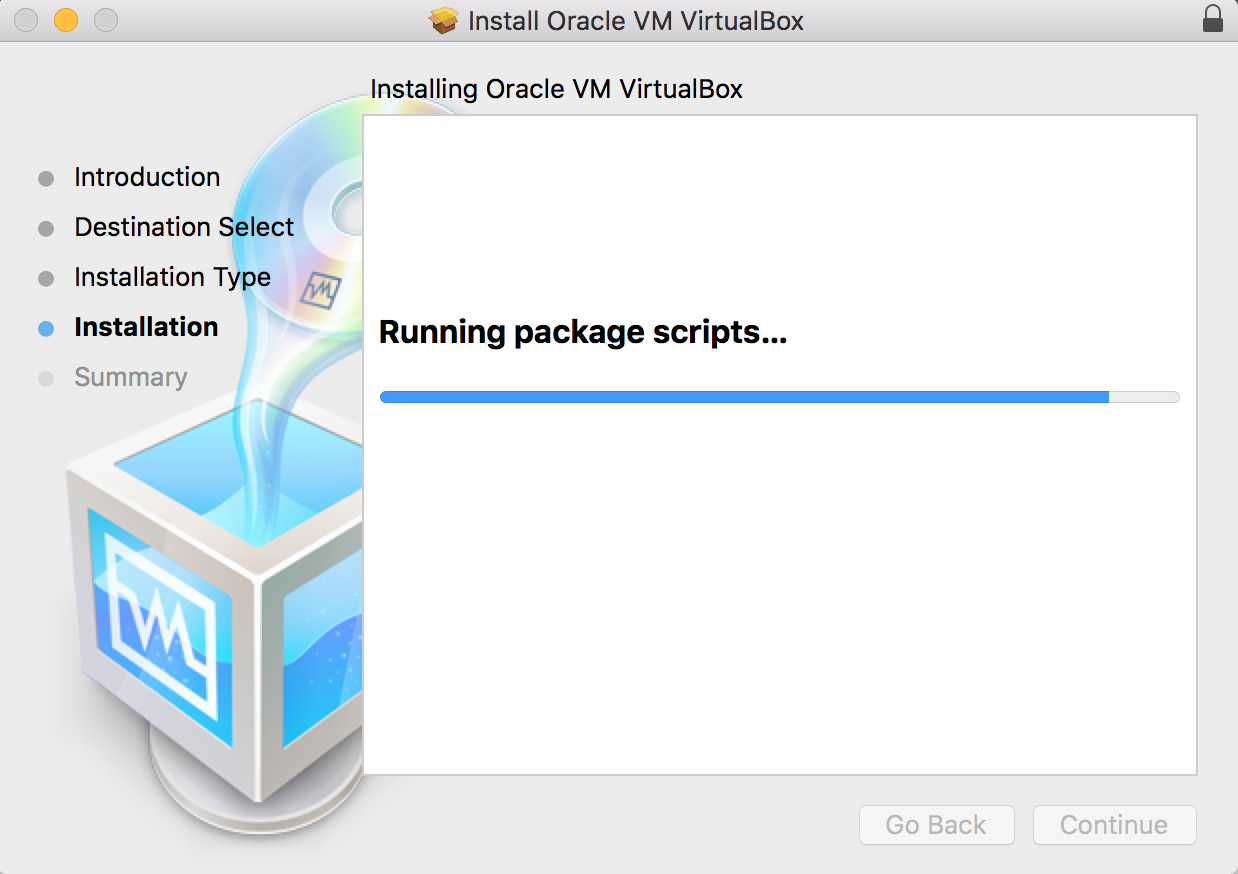
Step 3: Clicking on the continue button shown above will copy the required system files for VirtualBox, and finishes the installation. Shown below are the screen grabs.
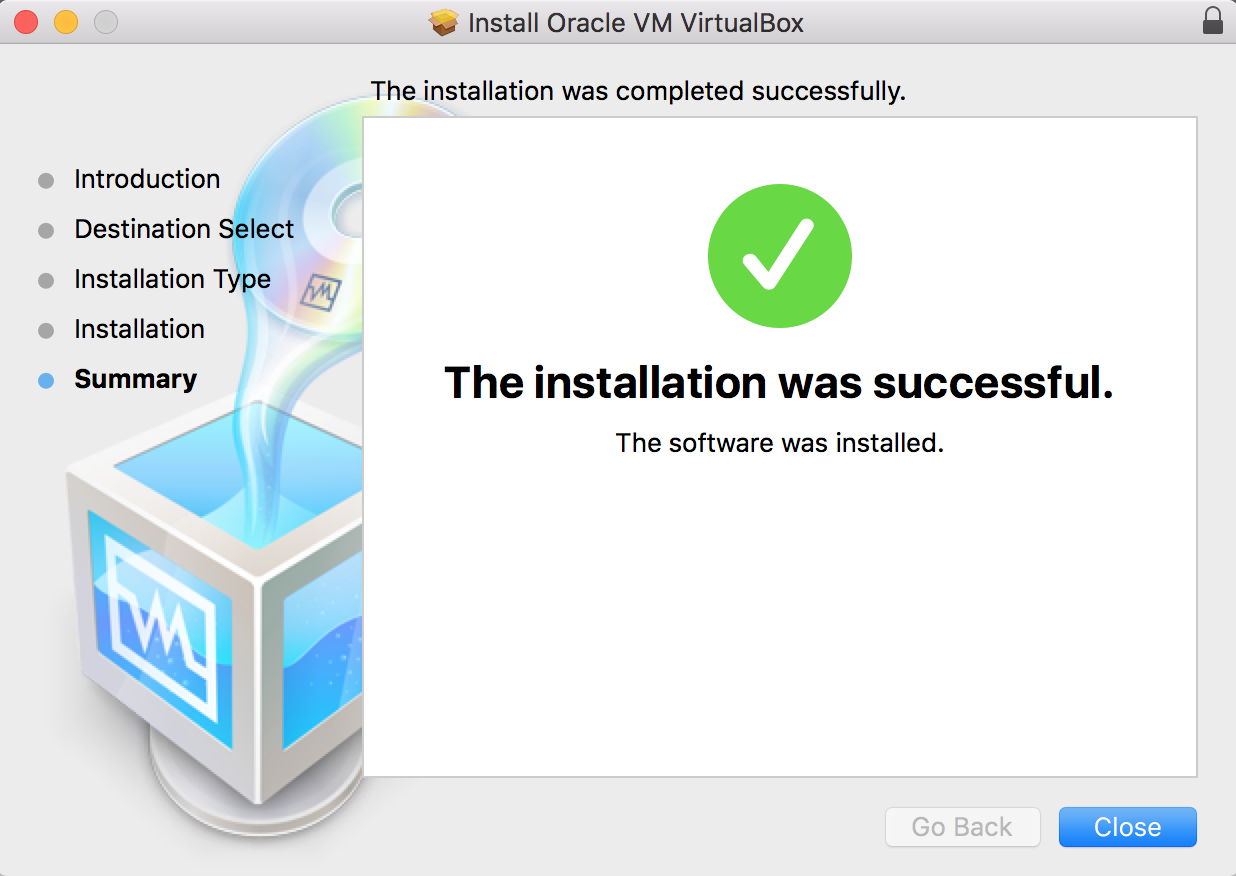
Once, the above step completes. If everything went well, It should show you the below final message.
As we have our basic primary dependancy for Vagrant fullfilled, let's now download and install Vagrant. Similar to VirtualBox, Vagrant can be downloaded from the below official URL.
For this tutorial, I have downloaded the installation file named vagrant_1.8.1.dmg. Installation will be done, by simply clicking on the dmg file downloaded. As soon as you click on the vagrant dmg file, you will be taken to the below window.
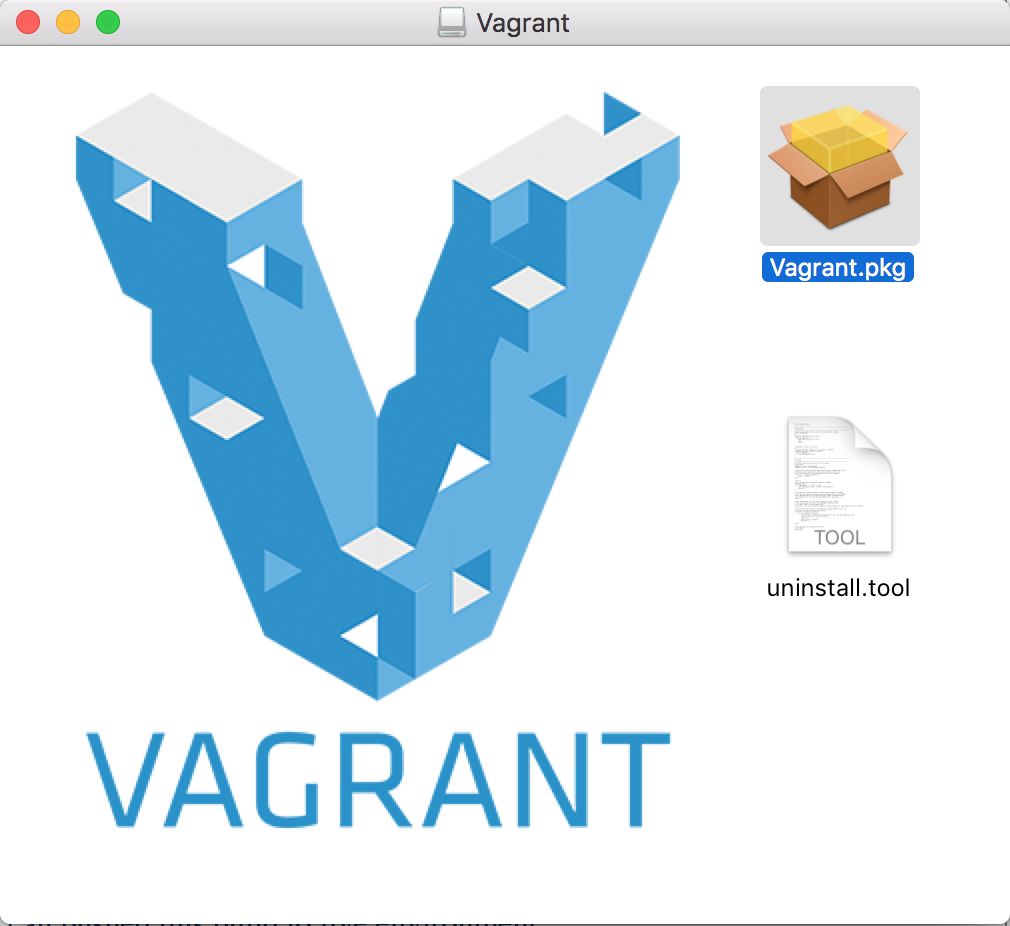
Click on the Vagrant.pkg file and you will taken to the below window.
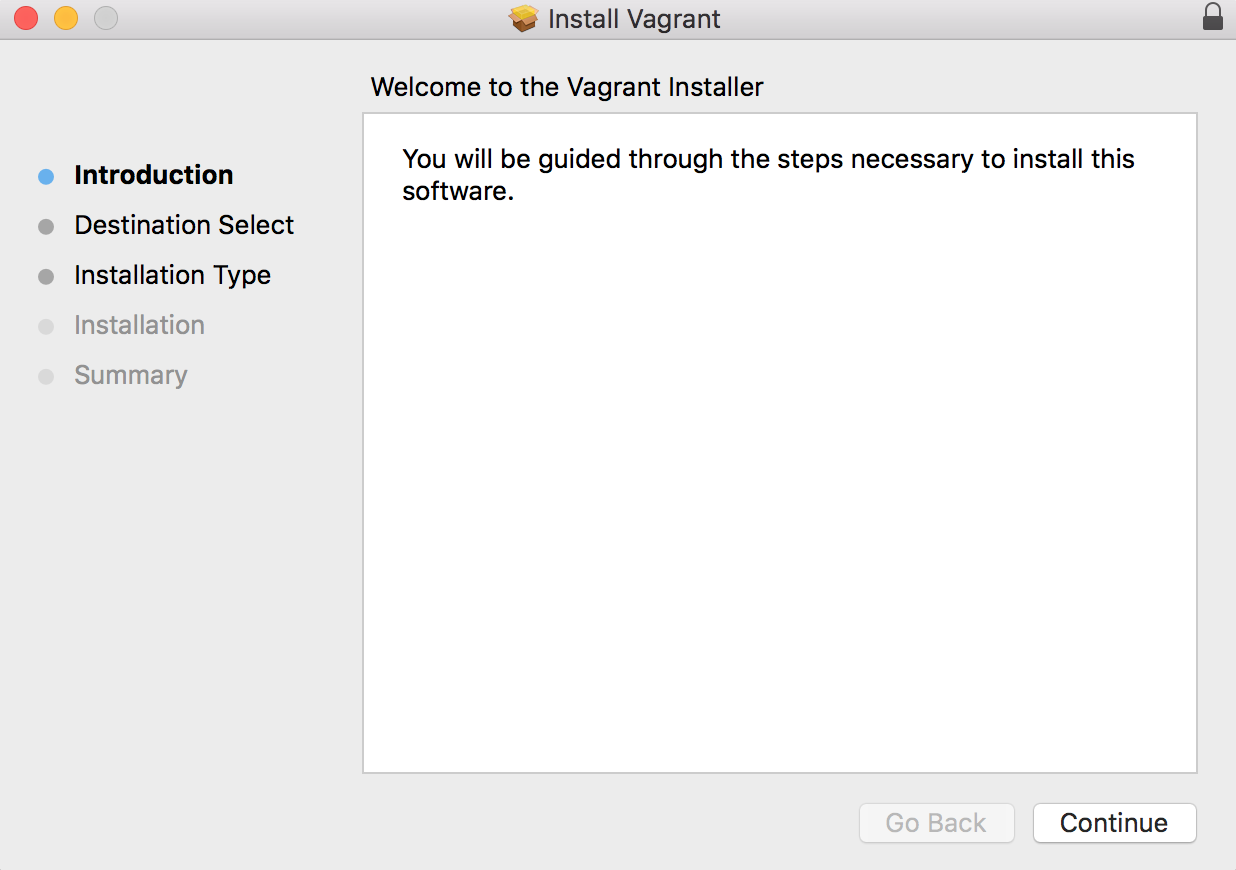
Now click on the continue button shown above, and it will kickstart the installation process. Once it completes, you will be shown the below message.
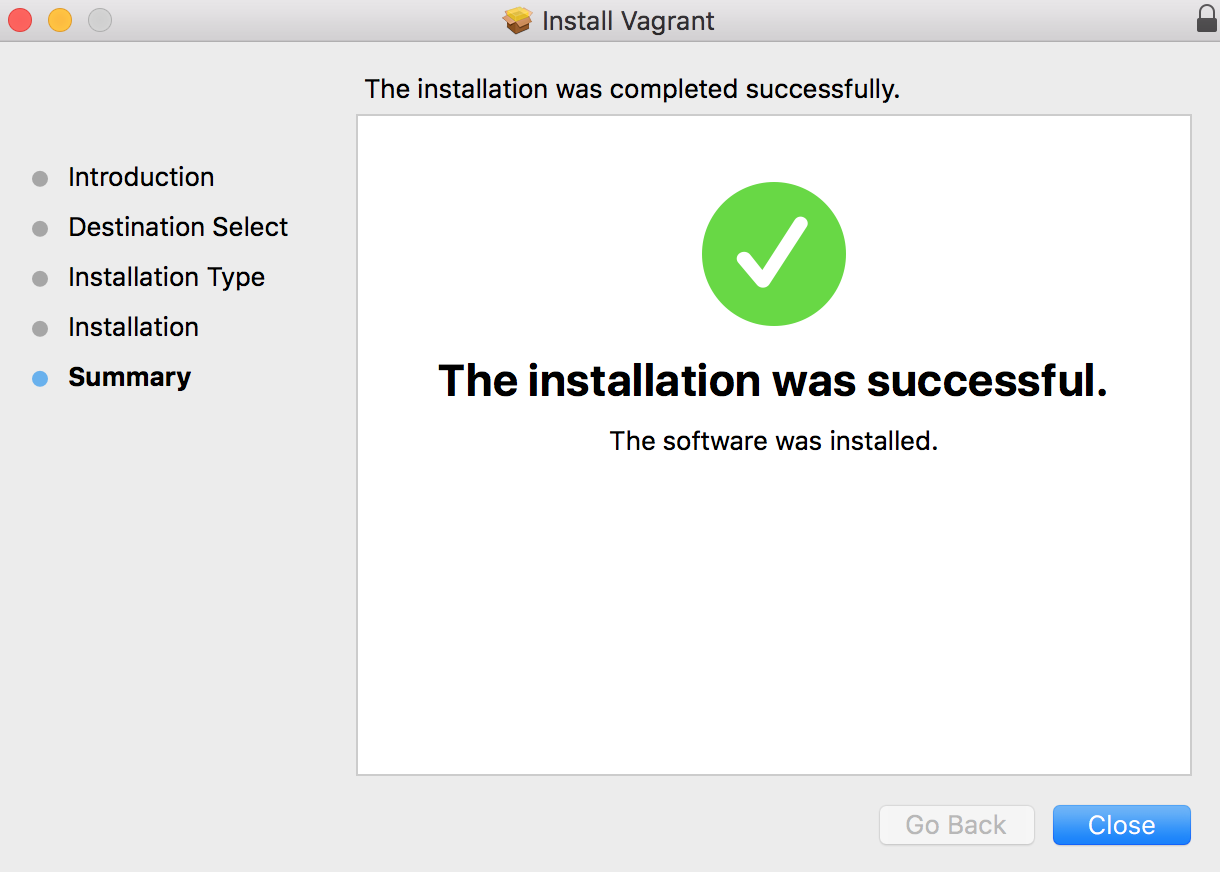
Now you have everything ready in your MAC for working with Vagrant. You can your Vagrant Installation by opening terminal in MAC, and running the below command.
Terminal can be opened by pressing COMMAND + T in Mac OS X.
Saraths-MacBook-Pro:~ sarath$ vagrant --version
Vagrant 1.8.1
Saraths-MacBook-Pro:~ sarath$
You can further confirm the installation of Vagrant, by running the first virtual machine using Vagrant. The below shown simple command of Vagrant will download a Vagrantfile in the current directory.
Saraths-MacBook-Pro:vagrant sarath$ vagrant init https://cloud-images.ubuntu.com/vagrant/trusty/current/trusty-server-cloudimg-amd64-vagrant-disk1.box
A `Vagrantfile` has been placed in this directory. You are now
ready to `vagrant up` your first virtual environment! Please read
the comments in the Vagrantfile as well as documentation on
`vagrantup.com` for more information on using Vagrant.
The above command will download a configuration file, that will be used by vagrant to launch an Ubuntu 14.04 virtual machine. You can start your virtual machine, by using the command vagrant up(in the same directory, where you ran the above command)
Saraths-MacBook-Pro:vagrant sarath$ vagrant up
Bringing machine 'default' up with 'virtualbox' provider...
==> default: Box 'https://cloud-images.ubuntu.com/vagrant/trusty/current/trusty-server-cloudimg-amd64-vagrant-disk1.box' could not be found. Attempting to find and install...
    default: Box Provider: virtualbox
    default: Box Version: >= 0
==> default: Box file was not detected as metadata. Adding it directly...
==> default: Adding box 'https://cloud-images.ubuntu.com/vagrant/trusty/current/trusty-server-cloudimg-amd64-vagrant-disk1.box' (v0) for provider: virtualbox
    default: Downloading: https://cloud-images.ubuntu.com/vagrant/trusty/current/trusty-server-cloudimg-amd64-vagrant-disk1.box
==> default: Successfully added box 'https://cloud-images.ubuntu.com/vagrant/trusty/current/trusty-server-cloudimg-amd64-vagrant-disk1.box' (v0) for 'virtualbox'!
==> default: Importing base box 'https://cloud-images.ubuntu.com/vagrant/trusty/current/trusty-server-cloudimg-amd64-vagrant-disk1.box'...
==> default: Matching MAC address for NAT networking...
==> default: Setting the name of the VM: vagrant_default_1463290350482_23545
==> default: Clearing any previously set forwarded ports...
==> default: Clearing any previously set network interfaces...
==> default: Preparing network interfaces based on configuration...
    default: Adapter 1: nat
==> default: Forwarding ports...
    default: 22 (guest) => 2222 (host) (adapter 1)
==> default: Booting VM...
==> default: Waiting for machine to boot. This may take a few minutes...
    default: SSH address: 127.0.0.1:2222
    default: SSH username: vagrant
    default: SSH auth method: private key
    default: Warning: Remote connection disconnect. Retrying...
    default: Warning: Remote connection disconnect. Retrying...
    default:
    default: Vagrant insecure key detected. Vagrant will automatically replace
    default: this with a newly generated keypair for better security.
    default:
    default: Inserting generated public key within guest...
    default: Removing insecure key from the guest if it's present...
    default: Key inserted! Disconnecting and reconnecting using new SSH key...
==> default: Machine booted and ready!
==> default: Checking for guest additions in VM...
    default: The guest additions on this VM do not match the installed version of
    default: VirtualBox! In most cases this is fine, but in rare cases it can
    default: prevent things such as shared folders from working properly. If you see
    default: shared folder errors, please make sure the guest additions within the
    default: virtual machine match the version of VirtualBox you have installed on
    default: your host and reload your VM.
    default:
    default: Guest Additions Version: 4.3.36
    default: VirtualBox Version: 5.0
==> default: Mounting shared folders...
    default: /vagrant => /Users/sarath/vagrant
You can now ssh to the newly launched virtual machine using the below vagrant command.
Saraths-MacBook-Pro:vagrant sarath$ vagrant ssh
Welcome to Ubuntu 14.04.4 LTS (GNU/Linux 3.13.0-86-generic x86_64)

 * Documentation:  https://help.ubuntu.com/

  System information as of Sun May 15 05:32:54 UTC 2016

  System load:  0.35              Processes:           82
  Usage of /:   3.5% of 39.34GB   Users logged in:     0
  Memory usage: 25%               IP address for eth0: 10.0.2.15
  Swap usage:   0%

  Graph this data and manage this system at:
    https://landscape.canonical.com/

  Get cloud support with Ubuntu Advantage Cloud Guest:
    http://www.ubuntu.com/business/services/cloud

0 packages can be updated.
0 updates are security updates.


_____________________________________________________________________
WARNING! Your environment specifies an invalid locale.
 This can affect your user experience significantly, including the
 ability to manage packages. You may install the locales by running:

   sudo apt-get install language-pack-UTF-8
     or
   sudo locale-gen UTF-8

To see all available language packs, run:
   apt-cache search "^language-pack-[a-z][a-z]$"
To disable this message for all users, run:
   sudo touch /var/lib/cloud/instance/locale-check.skip
_____________________________________________________________________

vagrant@vagrant-ubuntu-trusty-64:~$
vagrant ssh command will take you the shell prompt of the newly launched machine. It's now a cakewalk to launch new environment's with Vagrant. In the next tutorial, we will be discussing Vagrantfile in detail.


 Sarath Pillai
 Satish Tiwary
Add new comment